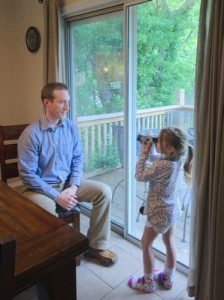
Do your child’s pictures all look the same?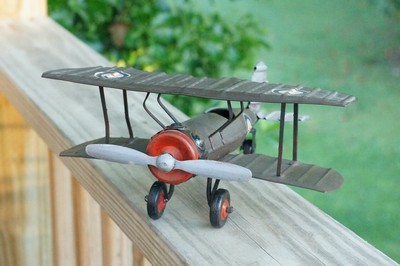
If your child has been taking pictures for very long you may start noticing that they all look the same. This can happen when they always use the same poses or angles. To fix this problem encourage them to take photos of the same subject at many different angles.
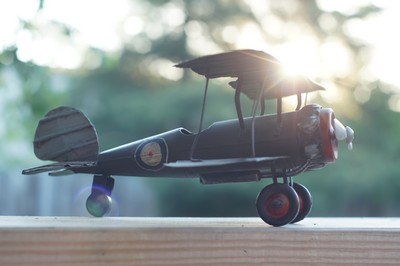
The picture of the airplane above would be my first instinct when I see this little airplane. But it may not be the best angle, the best lighting, or the most interesting picture. So let’s keep shooting and see what happens.
Get on the floor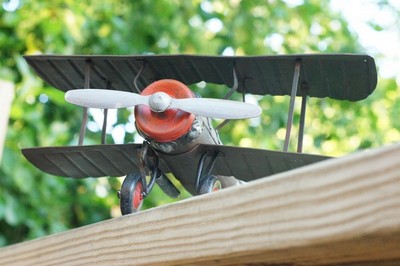
You may need to lay flat on your back and look up to find an interesting shot. Professional photographers are always willing to do something silly to get the best shot. Don’t worry if you look weird doing it. Some of the best pictures happen when you try to shoot a subject in a way it’s never been shot before.
Zoom in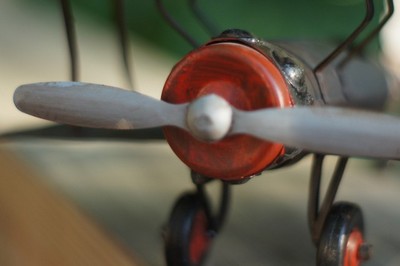
You don’t always have to show your whole subject. Get in close to your subject. In this photo we only see the engine, propeller, and wheels. The wings are not included and that is perfectly fine. This is still an interesting picture even without those other details.
Look down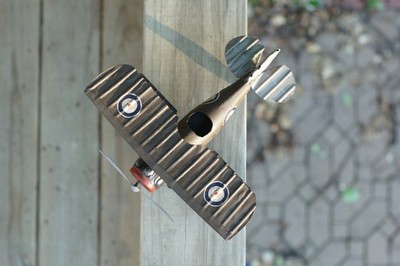
Get on top of your subject and shoot down. Notice the shadow from the plane’s tail. This is a detail we can’t see from other angles. When shooting from this position try to get directly over the subject and shoot straight down.
Fun photo to try:
Get some friends
together and have them lay on the floor with their heads touching each other. Put your camera directly over them and shoot down.
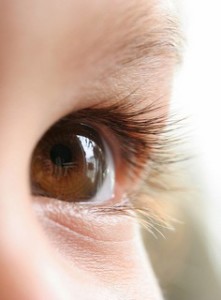
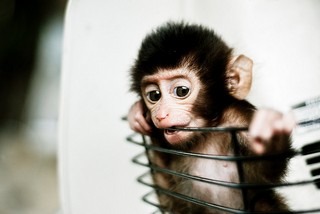
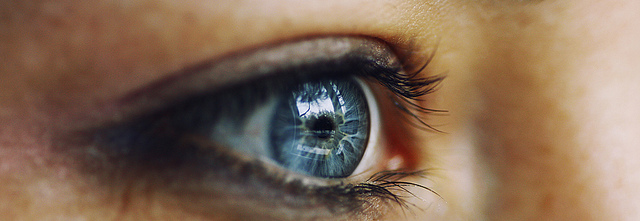
Shoot at eye level
When taking pictures of people or animals you should be on their eye level. When we are talking to someone we tend to look in their eyes. Even animals do this. If you have a pet dog or cat go talk to them and see if they are looking right back into your eyes.
Take a look at the two pictures below. The cat is not making eye contact in the top picture but he is on the bottom. The picture on the bottom allows us to make friends with the cat. It is much more personal and meaningful.


Review
- Try lots of different angles of the same subject
- Don’t be afraid of looking silly when finding creative shots
- Try shooting at eye level when you are taking pictures of people or animals
- Review your pictures later and pick your favorite shots
Photo Assignment:
Pick one subject and take pictures from at least 5 different angles
Click the link above for a printable photo assignment worksheet.
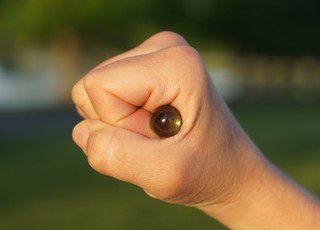
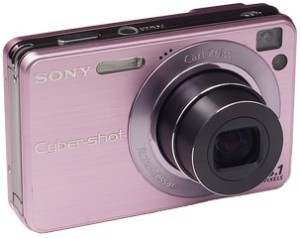
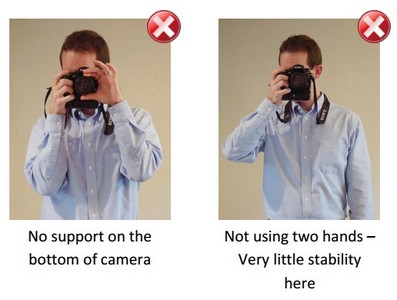
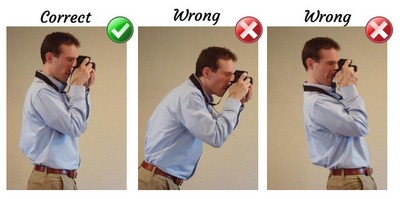
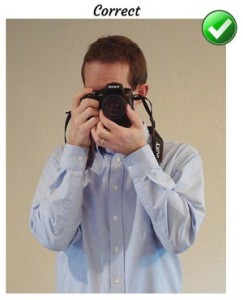 How to hold a camera
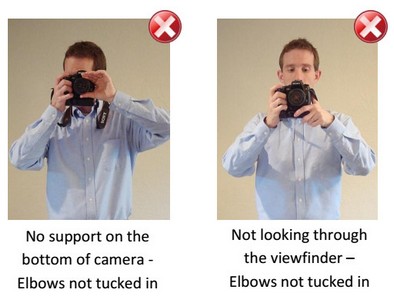
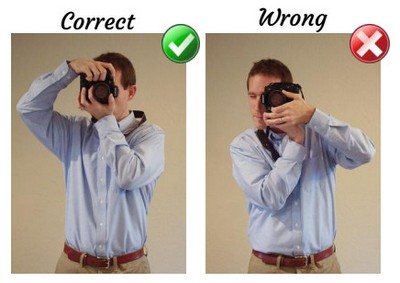 When taking pictures in the vertical position you have to rotate the camera. Always rotate so your right hand goes on top instead of on bottom. It’s very awkward and unstable to have your right hand on bottom.